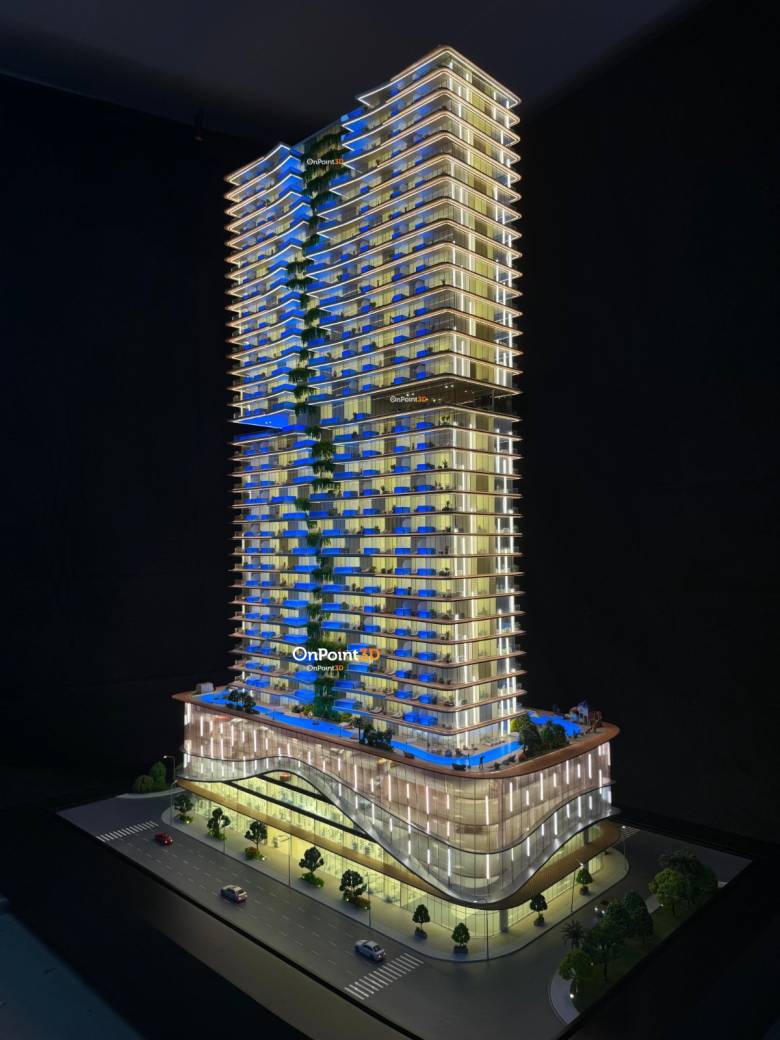
Architectural 3D rendering software allows designers and architects to create realistic images of buildings, spaces, and structures before construction begins. Using the right software can streamline the design process, improve presentations, and provide valuable insights into a project’s final appearance.
This article will explore how to effectively use software for architectural 3d rendering.
Choosing the right software
The first step in using software for architectural rendering is selecting the right tool for your project. There are many different options, including popular choices like AutoCAD, SketchUp, 3ds Max, and Revit. Each of these software programs offers distinct features suited to different types of projects. When choosing, consider factors like the scale of your project, the level of detail you entail, and your personal experience with the software.
For example, SketchUp is known for its user-friendly interface; making it ideal for beginners or small projects, while 3ds Max is often used for high-end visualisations requiring more advanced features.
Creating a 3D model
Once you’ve selected the software, the next step is to create the 3D model of your building or structure. Begin by drafting the basic shape and layout of the project, including walls, windows, doors, and other structural elements. Many software programs have built-in tools for creating architectural elements like doors and windows, making the process easier.
As you work, pay attention to proportions, measurements, and scale. It’s essential that the model accurately reflects the real-world dimensions of the structure. For complex designs, consider importing CAD files or using pre-made components from the software’s library to save time and improve accuracy.
Applying materials and textures
After creating the basic structure, apply materials and textures to give the model a realistic appearance. Most 3D rendering software includes libraries of textures that you can apply to surfaces like walls, floors, and roofs. You can adjust the properties of these materials, such as color, reflectivity, and texture resolution, to closely match the desired look.
This step is key in achieving a more realistic render, as materials such as glass, metal, wood, and concrete behave differently when it comes to light interaction and surface texture. Experiment with different options to achieve the best result.
Setting up lighting and camera angles
Lighting is a key component of architectural rendering, as it determines how materials and textures appear. Set up lighting sources within your model, such as sunlight, artificial lights, and ambient lighting. The positioning and intensity of the light will have a significant impact on how the final render looks.


